How to Tune a Guitar - Complete Step-by-Step Guide
Tuning is the most important habit you will build as a guitarist. Even the most skilled player sounds bad on an out-of-tune guitar. This lesson teaches you exactly how to get in tune - every time.

Tuning is the most important habit you will build as a guitarist. Even the most skilled player sounds bad on an out-of-tune guitar. This lesson teaches you exactly how to get in tune - every time.
Tuning is the most important thing you have to learn. Even simple music will sound wrong if the guitar is out of tune. At first, tuning will seem difficult and your guitar may go out of tune easily, but after some practice it will become much easier and the tuning will hold better.
Find somewhere quiet to tune. You need to be able to hear each string clearly without distraction. Tune the guitar before you play for anyone else - always. Before playing outside, check the tuning again even if it was in tune inside, as temperature changes affect the strings.
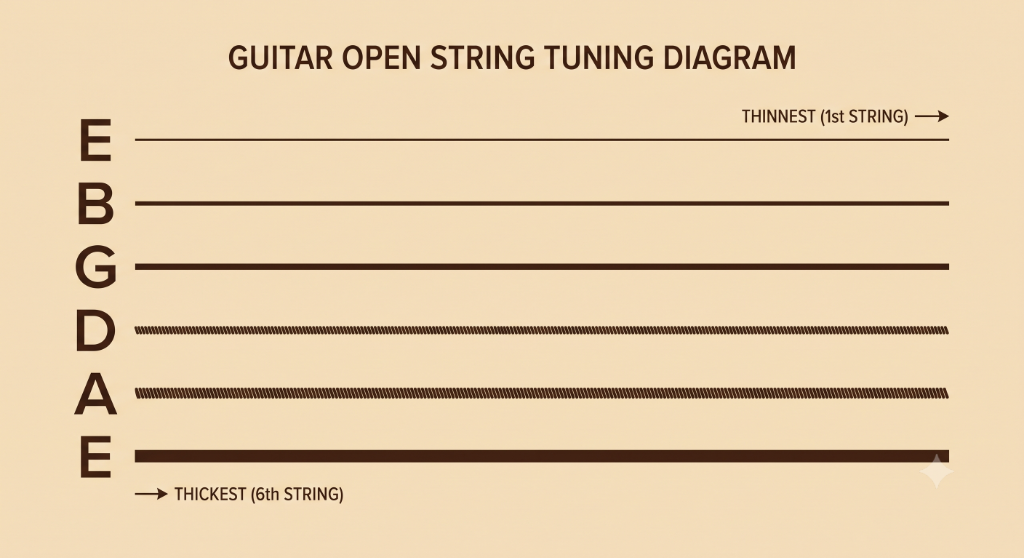
Before you can tune your guitar, you need to know what notes the strings are supposed to be tuned to. The most common tuning in the world, known simply as "Standard Tuning," spells out E-A-D-G-B-E from the thickest string to the thinnest string.
Because these letters seem random, beginners have been using memory aids (mnemonics) for decades to remember them. Here are a few of the most popular ones—pick whichever one sticks in your brain:
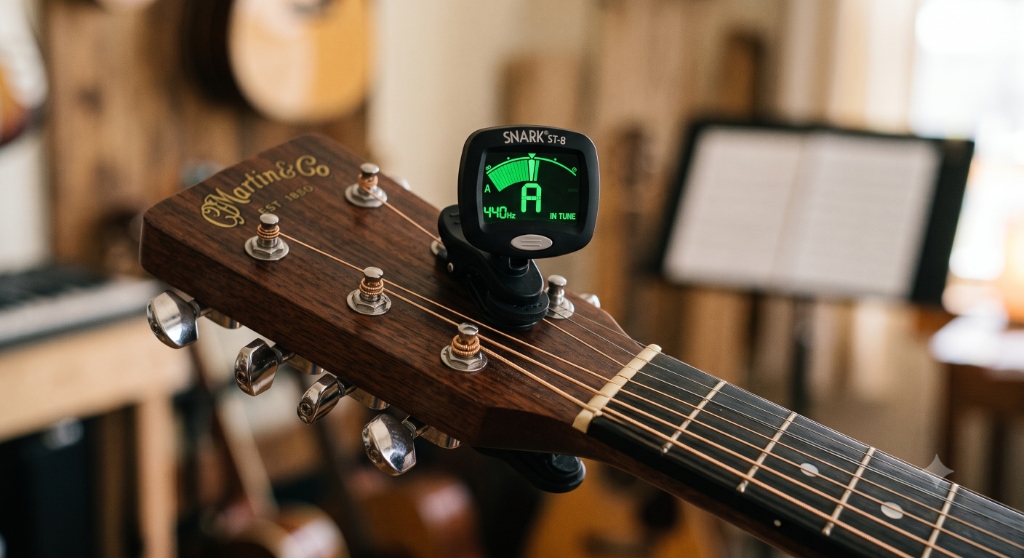
While learning to tune by ear is a fantastic skill, technology has made getting your guitar perfectly in tune incredibly easy. As a beginner, you should absolutely take advantage of these tools to ensure your guitar sounds good while you practice.
Smartphone Apps: There are dozens of free tuning apps (like GuitarTuna or Fender Tune) that use your phone's microphone to hear the pitch of your strings. They display a dial on the screen that tells you exactly whether the string is too high (sharp) or too low (flat). These are incredibly convenient, though they can struggle in noisy rooms.
Clip-on Tuners: These small, inexpensive devices clamp directly onto the headstock of your guitar. Instead of using a microphone, they use a piezo sensor to feel the physical vibrations of the wood as you pluck the string. This means you can tune perfectly even in a noisy room with people talking or other instruments playing.

Here is a mechanical secret that will save you endless frustration: Always tune UP to the correct pitch, never down.
If your string is too sharp (too high), do not simply turn the tuning peg down until the tuner says it is correct. Instead, loosen the string until it is noticeably flat (too low), give the string a gentle tug to release any tension caught in the nut of the guitar, and then slowly tighten it back UP to the correct pitch.
Why? Because turning the peg down leaves slack in the gears of the tuning machine and behind the nut. The very next time you strum a chord, that slack will slip, and your guitar will instantly go out of tune again. Tuning up to pitch ensures the gears are locked tightly under tension.
You need a starting point - a reference pitch for the 1st string (high E). The best sources are:
While the reference note sounds, pluck the 1st string. If the string sounds higher than the reference - slacken it by turning its tuning peg a little. If lower - tighten it a little. Turn only a quarter turn at a time. If you are not sure whether the string is higher or lower, slacken it slightly until it is clearly too low, then tighten it slowly until it matches. Always approach the correct pitch by tightening upward - this keeps the tuning more stable.
Once your 1st string is in tune, you can tune all the others to it. The principle is simple: pressing a string behind a specific fret produces the same note as the next open string below it.
Every string is tuned at the 5th fret - except string 3, which is tuned at the 4th fret. This is because of how standard tuning is structured. Forgetting this is one of the most common tuning mistakes beginners make.
Everything guitarists ask about this topic
Standard guitar tuning from the thickest string to the thinnest is E A D G B E - often remembered with the phrase Eddie Ate Dynamite Good Bye Eddie. The low E (6th string) has the deepest pitch and the high E (1st string) has the highest.
Use the 5th fret method: tune the 1st string to a reference pitch (pitch pipe, tuning fork, piano, or app), then press each subsequent string at the 5th fret and match it to the open string below it. Note: the 3rd string is pressed at the 4th fret, not the 5th.
Tune your guitar every single time you pick it up to play. Strings go out of tune constantly - from temperature changes, humidity, playing, and just sitting in the case. Checking takes less than a minute and makes a huge difference to how you sound.
New strings stretch and go out of tune more quickly. Stretch new strings by gently pulling them away from the fingerboard after fitting, then re-tune. After 2 to 3 sessions, new strings settle and hold their tuning much better. Old or worn strings also go out of tune easily and should be replaced.
A clip-on chromatic tuner is the easiest option for beginners - it clips onto the headstock and reads the vibration of the guitar directly, so it works even in noisy environments. Tuner apps on a smartphone also work well. A pitch pipe is inexpensive and useful to have as a backup.
Standard tuning has a minor third interval between strings 2 and 3 (B and G), while all other adjacent strings are tuned a perfect fourth apart. This means the reference fret for string 3 is the 4th fret rather than the 5th. It is one of the quirks of standard guitar tuning that every player needs to memorise.